Have you ever wondered if you can install an outlet plug yourself without hiring an electrician? Many homeowners in Canada are taking on DIY electrical projects to save money and gain more control over their home improvement tasks. But before you start unscrewing the old outlet, it’s essential to understand the importance of safety and proper installation.
Electrical work can be hazardous if done incorrectly, but with the right tools, knowledge, and safety practices, you can safely install an outlet plug in your home. This guide will walk you through the process step by step, ensuring you complete the job safely and effectively.
Let’s dive into the safe and effective process of installing an outlet plug.
Tools and Materials You’ll Need
Before you begin, make sure you have all the necessary tools and materials to complete the installation. Having the right equipment will make the job smoother and safer.
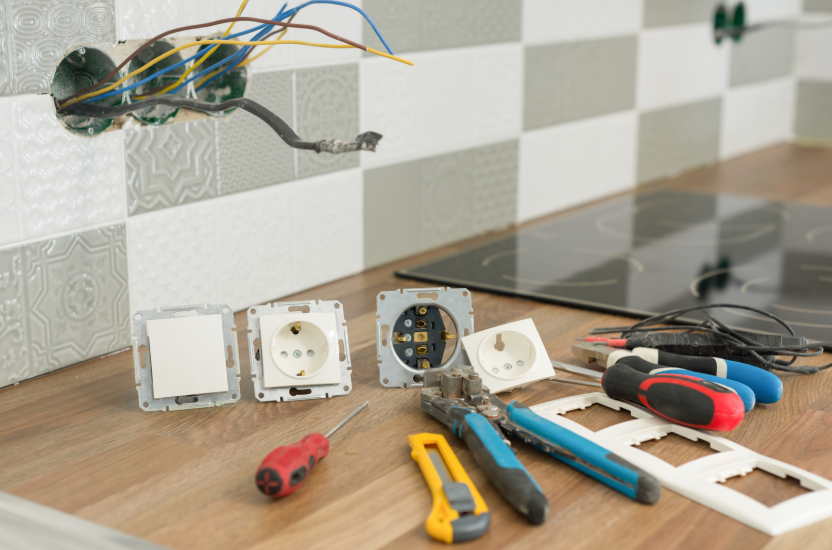
Essential Tools:
- Screwdriver (flathead and Phillips): Used to remove screws and secure the outlet in place.
- Wire Stripper: To strip the ends of the electrical wires for proper connection.
- Voltage Tester: This tool ensures the power is turned off before you begin any work.
- Needle-Nose Pliers: Helps manipulate and secure the wires.
Materials:
- New Outlet Plug (NEMA 5-15R): The standard 3-prong outlet you’ll be installing.
- Electrical Box: If you’re adding a new outlet, you’ll need a box to house the wiring and outlet.
- Electrical Wire (14/2 or 12/2 NM cable): This is the wire that will connect the outlet to the power supply.
- Wire Nuts: These secure wire connections.
- Electrical Tape: For extra insulation around wire connections.
- Faceplate: To cover the outlet once installed.
Expert Tip: Always use high-quality tools that meet safety standards to ensure secure connections and reduce the risk of electrical hazards.
Step-by-Step Guide to Installing an Outlet Plug
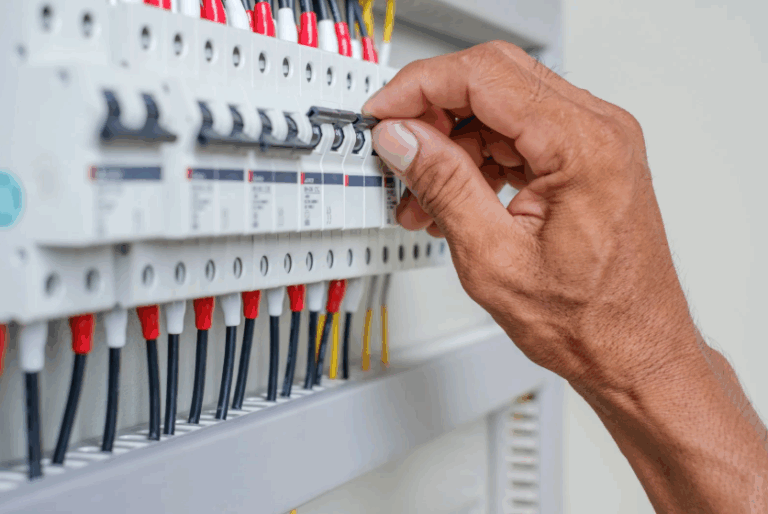
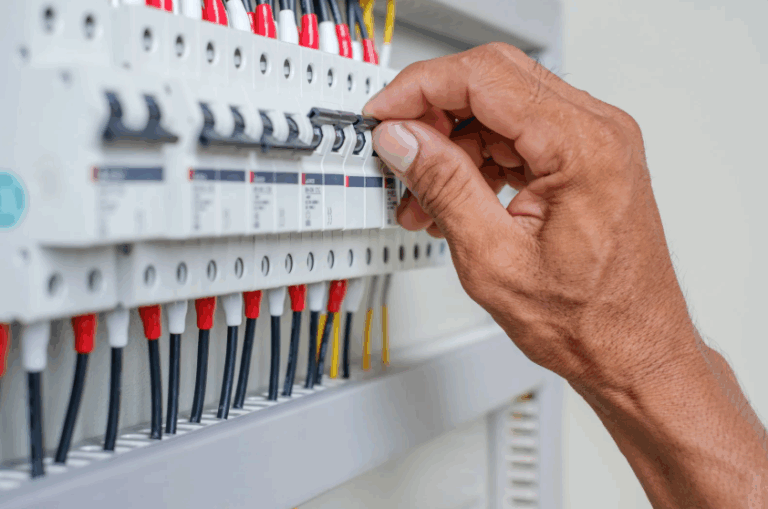
1. Turn Off the Power
Safety First! Before you begin any electrical work, it’s critical to turn off the power to the area where you’ll be working. Follow these steps to ensure you’re working safely:
- Locate the electrical panel in your home.
- Turn off the circuit breaker that supplies power to the area where you’ll be installing the outlet.
- Use a voltage tester to confirm that there is no power running to the outlet.
Why is this important? Working with live electrical wires can be dangerous, leading to electric shocks or worse. Testing with a voltage tester ensures you’re working with no power running through the outlet. For more about how circuit breakers work and how to troubleshoot issues, read our guide on circuit breaker tripping.
2. Remove the Existing Outlet (if replacing)
If you’re replacing an old outlet, follow these steps to safely remove it:
- Unscrew the outlet cover plate and set it aside.
- Remove the screws holding the outlet in place.
- Gently pull the outlet out of the electrical box, exposing the wires.
Tip: Take note of how the wires are connected to the old outlet. This will guide you during the installation of the new one.
To know more about recognizing electrical issues like faulty outlets, check out our how to tell if a circuit breaker is bad page.
3. Connect the Wires to the New Outlet
Now it’s time to wire the new outlet. Follow these steps carefully to ensure the connections are secure:
- Ground Wire (Green or Bare): Attach the ground wire to the green screw on the outlet. This wire protects you from electrical shock.
- Neutral Wire (White): Attach the neutral (white) wire to the silver screw.
- Hot Wire (Black or Red): Attach the hot (black or red) wire to the brass screw.
Expert Advice: Make sure each wire is tightly secured to its respective screw. Loose connections can lead to sparks or potential fire hazards.
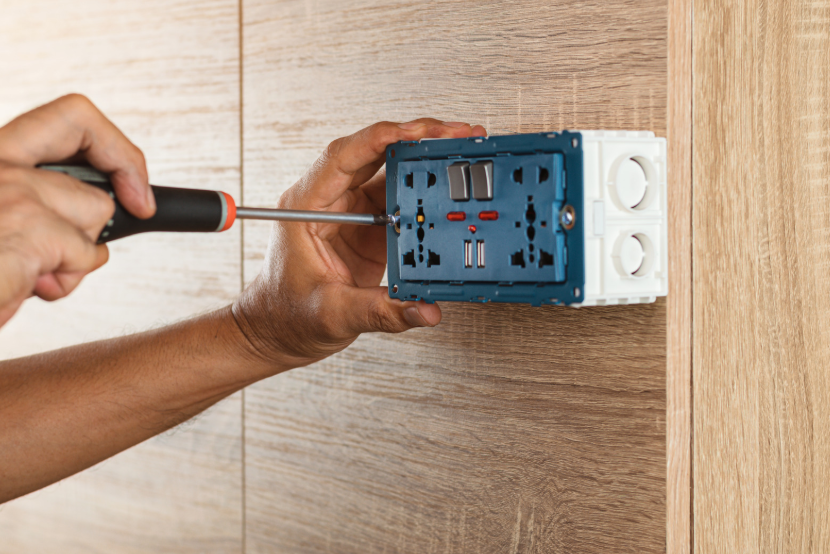
4. Install the Outlet
Once the wires are connected, it’s time to install the outlet into the electrical box:
- Carefully push the wired outlet back into the electrical box.
- Secure the outlet by tightening the screws that hold it in place.
- Attach the faceplate to cover the outlet.
Tip: Make sure the outlet is securely mounted and flush with the wall to ensure stability and safety.
5. Restore Power and Test
With the outlet securely installed, it’s time to restore power and test the outlet:
- Turn the circuit breaker back on to restore power to the area.
- Use a voltage tester to check if the outlet is properly wired and functioning.
If everything is in order, your new outlet should be fully operational. If not, double-check the wiring connections.
Important Considerations
Before completing your outlet installation, keep these important factors in mind:
- Code Compliance: Ensure that your work adheres to the Canadian Electrical Code (CEC). If you’re unfamiliar with the codes or need clarification, consult a licensed electrician.
- Permits: In some provinces, installing outlets may require a permit. Check with your local municipality to ensure you comply with local regulations.
- Professional Help: If you’re unsure about any part of the installation process, it’s always safer to call a licensed electrician. Electrical work can be dangerous if not done correctly.
Common Mistakes to Avoid
Avoid these common mistakes to ensure a safe and successful outlet installation:
- Incorrect Wiring: Wiring the outlet incorrectly can cause short circuits or sparks. Always follow the wiring color codes carefully.
- Over-tightening Screws: Tightening the screws too much can damage the wires or the outlet, leading to poor performance.
- Skipping Testing: Always test the outlet with a voltage tester before assuming the job is done.
Conclusion: Ready to Tackle Your Outlet Installation?
Now that you’ve learned how to safely install an outlet plug, you should feel confident in tackling this DIY project. Remember, safety is the most important consideration—always ensure the power is off before starting and follow the instructions closely.
If you’re ever unsure or uncomfortable with any part of the process, don’t hesitate to call a licensed electrician. But with the right tools, safety precautions, and a little know-how, you can easily install an outlet plug yourself.
FAQ
Can I install an outlet myself?
Yes, if you’re replacing an existing outlet. For new installations or if unsure, consult an electrician.
Can I install a plug socket myself?
Yes, if replacing an existing socket. For new installations, it’s safer to call an electrician.
Which color wire is hot?
The black or red wire is the hot wire.
How long does outlet installation take?
Usually under 30 minutes for a simple replacement.
How much does it cost to replace an electrical outlet?
Typically $65 – $125, depending on the complexity.